Mounting shares
Before following the below instructions, ensure you have been added to the sudoers file or otherwise have root access.
| Instructions | Images |
|---|---|
First, you want to update Rocky Linux, and install the cifs-utils package using the Terminal before any share can be mounted. Open the Terminal and then run the next three commands in sequence.sudo yum updatesudo yum upgradesudo yum install cifs-utils | 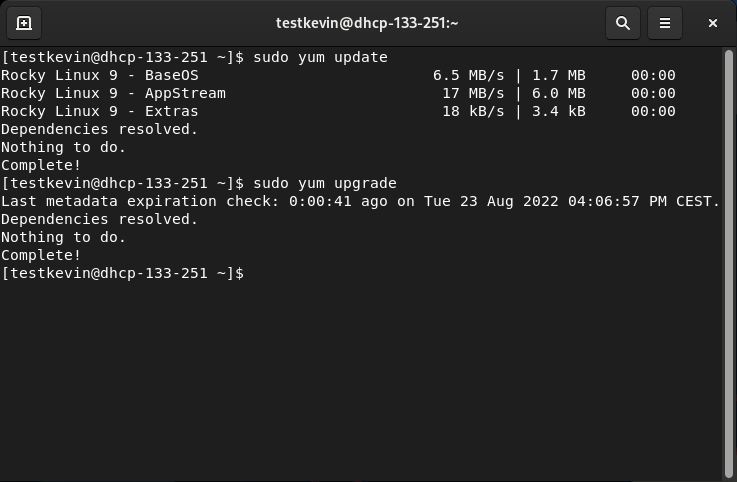 |
| Next, you want to create a new directory in the /mnt/ directory to serve as your mounting point for the Windows share. Create the nikhef_share directory: sudo mkdir /mnt/nikhef_share | 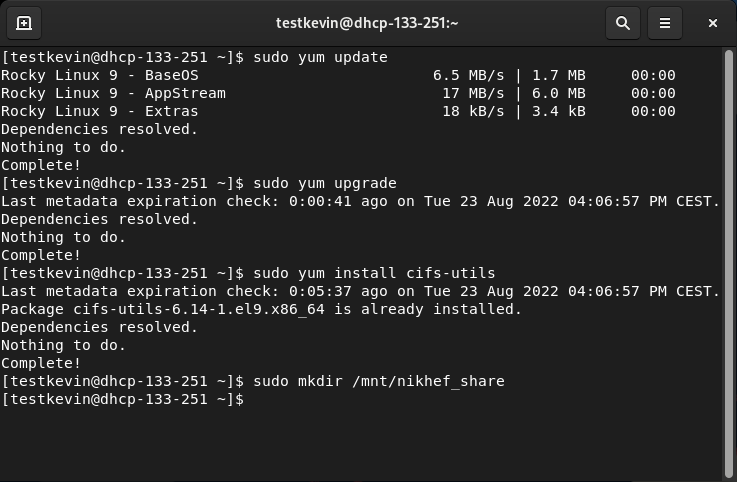 |
| Finally, you can use the mount command to mount the Windows share to the newly created nikhef_share directory. Mount //nh.nikhef.nl/project on /mnt/nikhef_share: sudo mount -t cifs -o username=If you want to mount a different folder, such as //nh.nikhef.nl/data or //nh.nikhef.nl/user/home/username, you can use the same command, except replace 'project' with your /path/to/folder of choice. Keep in mind that mounted shares are not persistent. You have to repeat this step after every restart. | 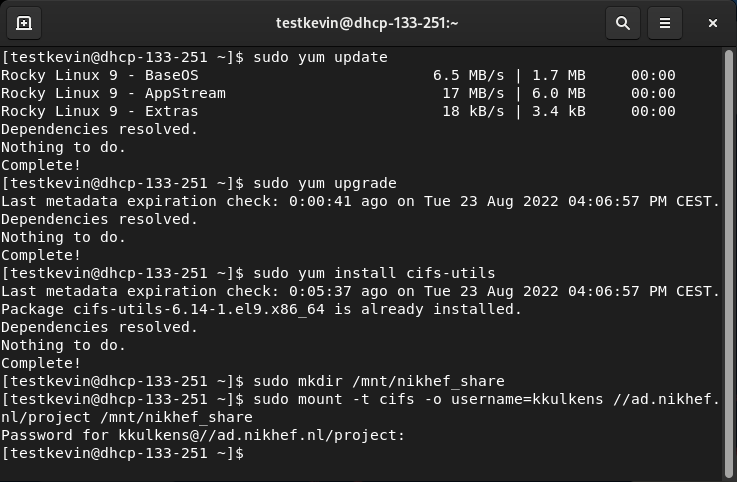 |
| You can now use the file manager to access /mnt/nikhef_share. | 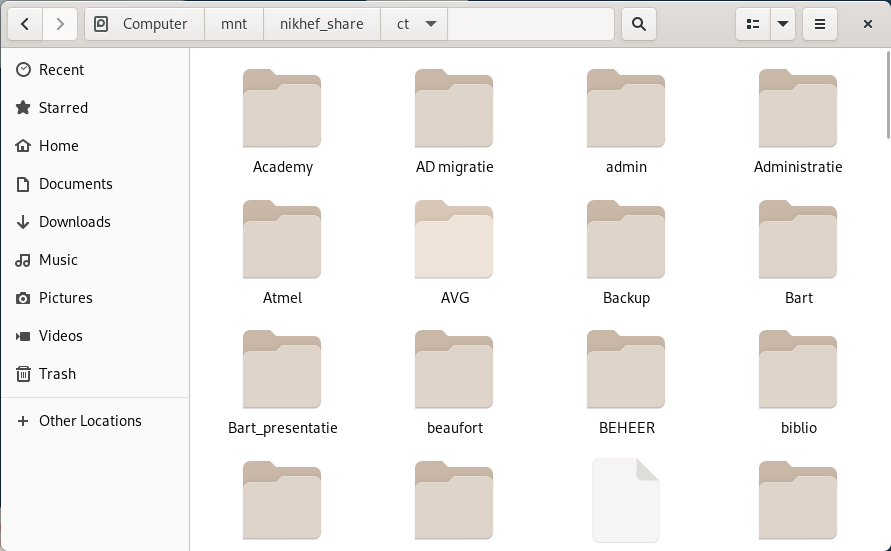 |
Before following the below instructions, ensure you have been added to the sudoers file or otherwise have root access.
| Instructions | Images |
|---|---|
| First, you want to update Ubuntu and install cifs-utils using the Terminal before any share can be mounted. Open the Terminal and then run the next three commands in sequence. Update Ubuntu: sudo apt updatesudo apt upgradeInstall cifs-utils: sudo apt install cifs-utils | 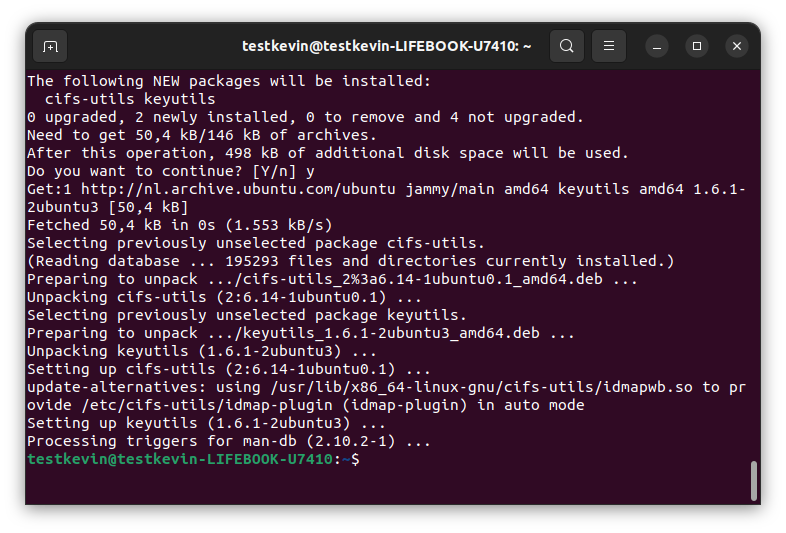 |
| Next, you want to create a new directory in the /mnt/ directory to serve as your mounting point for the Windows share. Create the nikhef_share directory: sudo mkdir /mnt/nikhef_share | 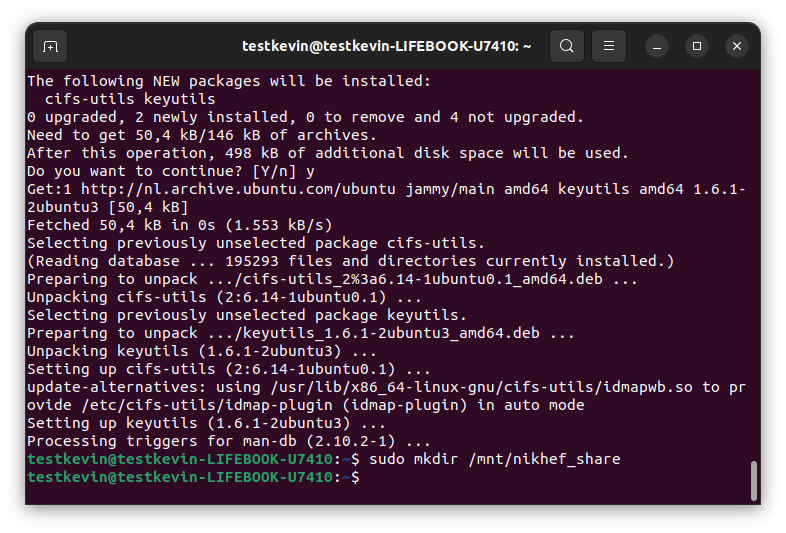 |
| Finally, you can use the mount command to mount the Windows share to the newly created nikhef_share directory. Mount //nh.nikhef.nl/project on /mnt/nikhef_share: sudo mount -t cifs -o username=If you want to mount a different folder, such as //nh.nikhef.nl/data or //nh.nikhef.nl/user/home/username, you can use the same command, except replace 'project' with your /path/to/folder of choice. Keep in mind that mounted shares are not persistent. You have to repeat this step after every restart. | 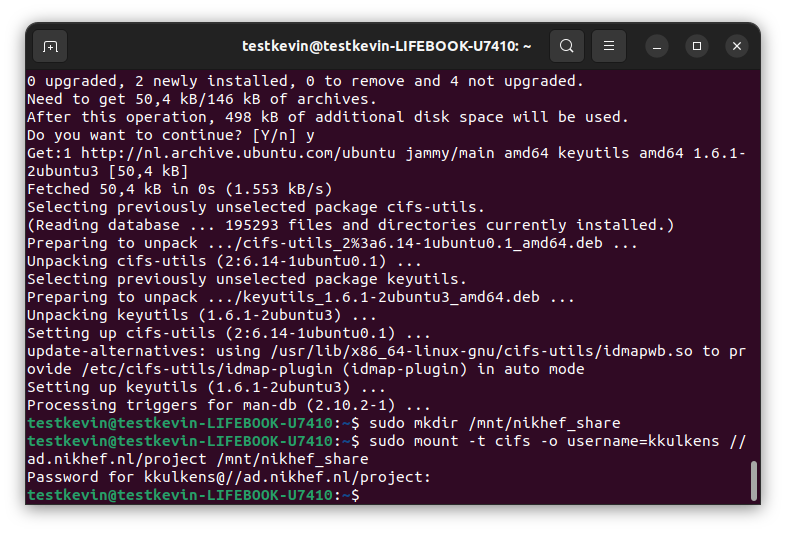 |
| You can now use the file manager to access /mnt/nikhef_share. | 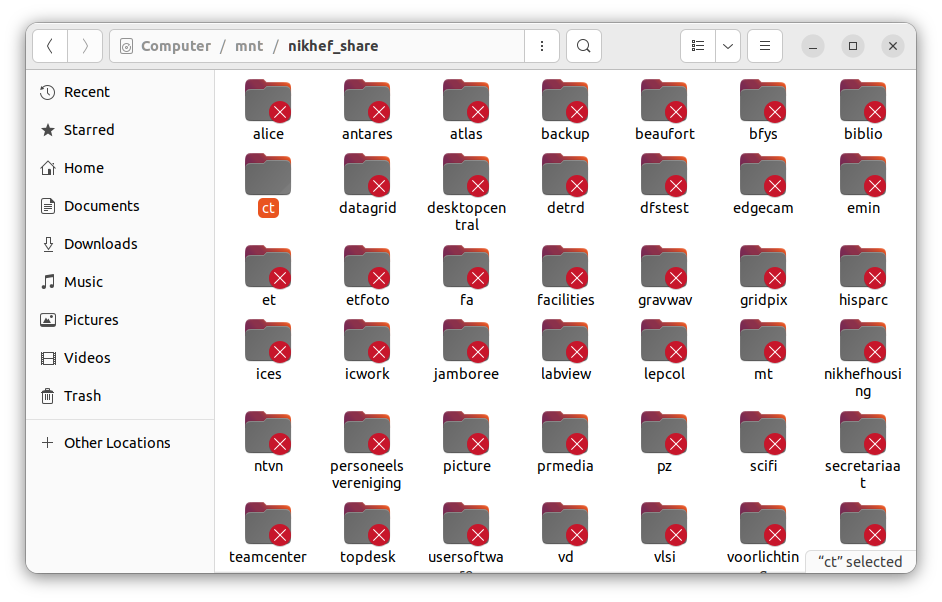 |
There are several ways to access or mount a windows share.
| Instructions | Images |
|---|---|
| To access a share under windows without mounting a drive letter, just open explorer and type: \\nh.nikhef.nl\ and browse to the desired location. If prompted to enter your credentials, use your username in one of the following formats: username.nh.nikhef.nl or NH\username | 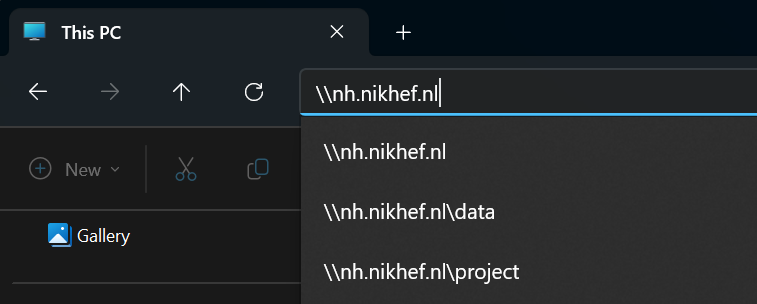 |
| To make a shortcut (quick access link) right click the folder you want to make a shortcut for and select Pin to Quick access | 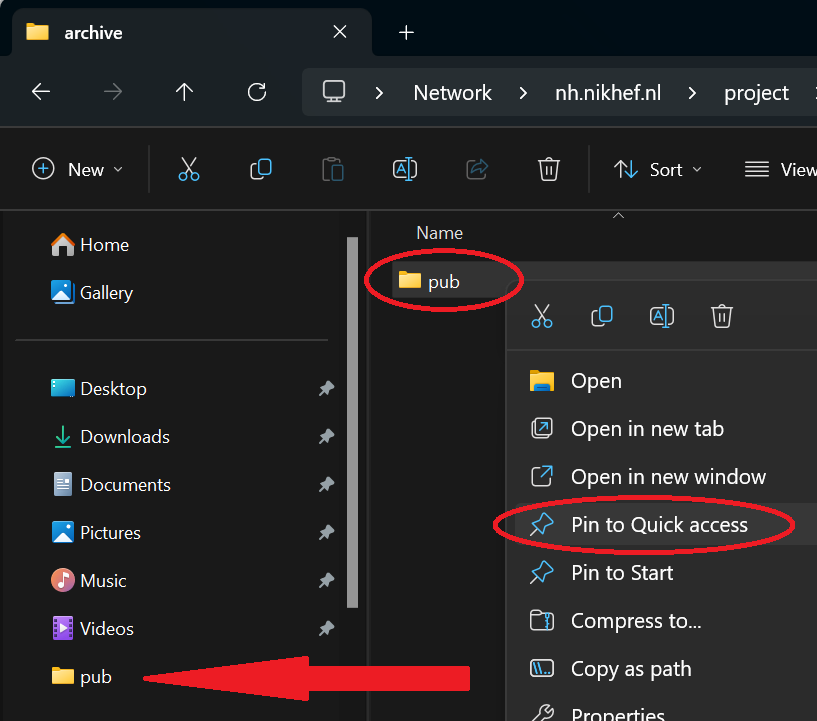 |
| On windows domain computers you can map a drive letter when windows starts by creating a file: H:\Config\logon.cmd Make sure the drive letter is not already in use, it best to use anything after drive H: (H = home drive) | |
@ECHO off | 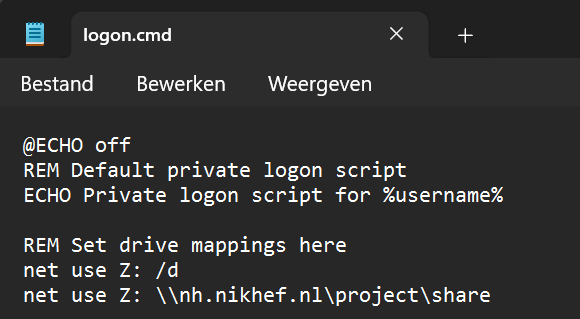 |
| If you dont want to use a script just right click on "This PC" and select "Map network drive..." | 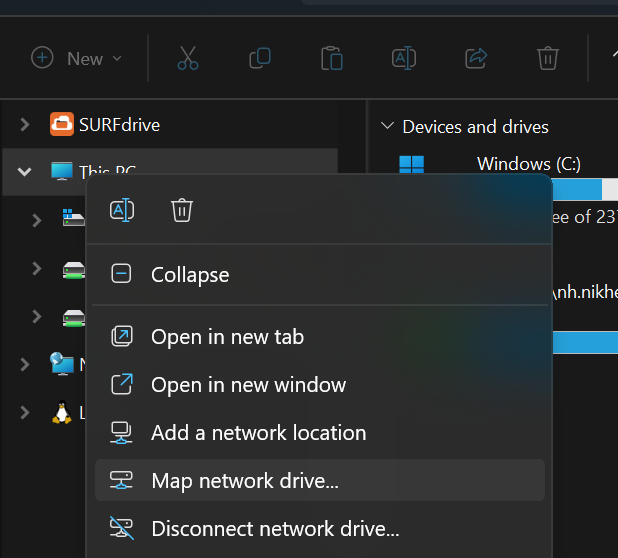 |
| Give it a drive letter Type \\nh.nikhef.nl\ in the Folder path and browse to the path you would like to make a Drive mapping for Click Finish | 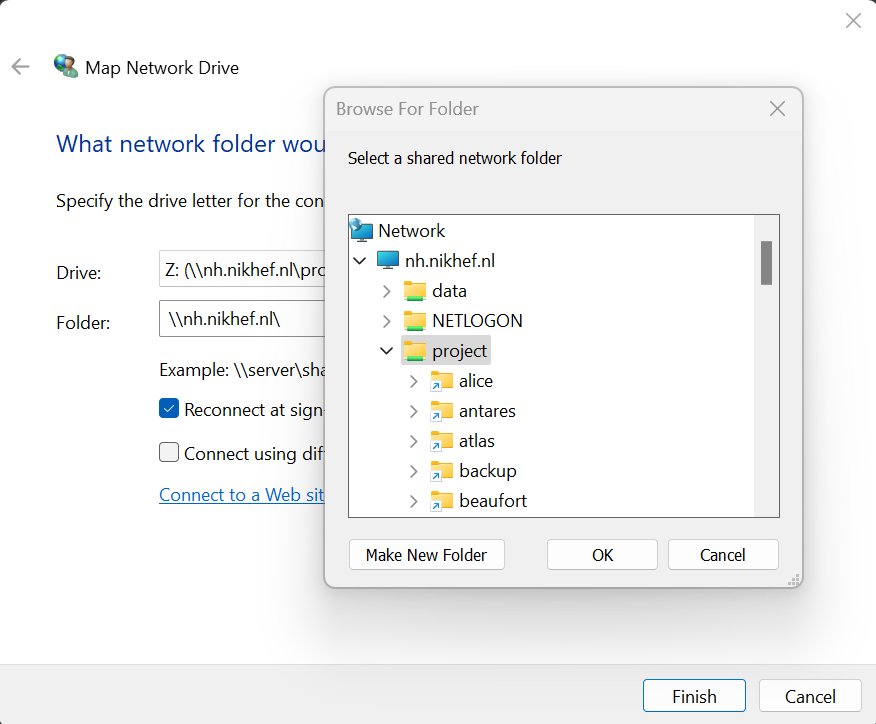 |
Before following the below instructions, ensure you're either connected to the NIKHEF WiFi, or connected to EduVPN (Institute Access)
| Instructions | Images |
|---|---|
| To connect to a share on MacOS, first open the Finder. Then, in the taskbar click on 'Go' -> 'Connect to Server...'. | 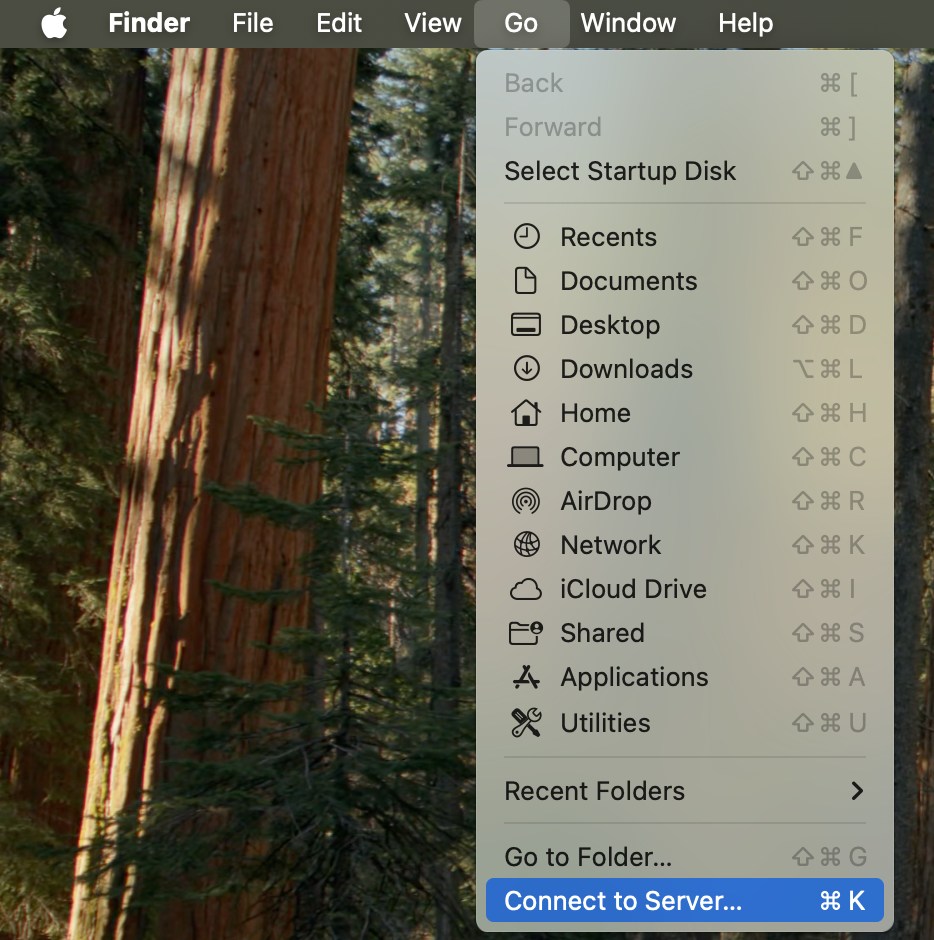 |
| Next, enter "smb://nh.nikhef.nl/", and click on "Connect". | 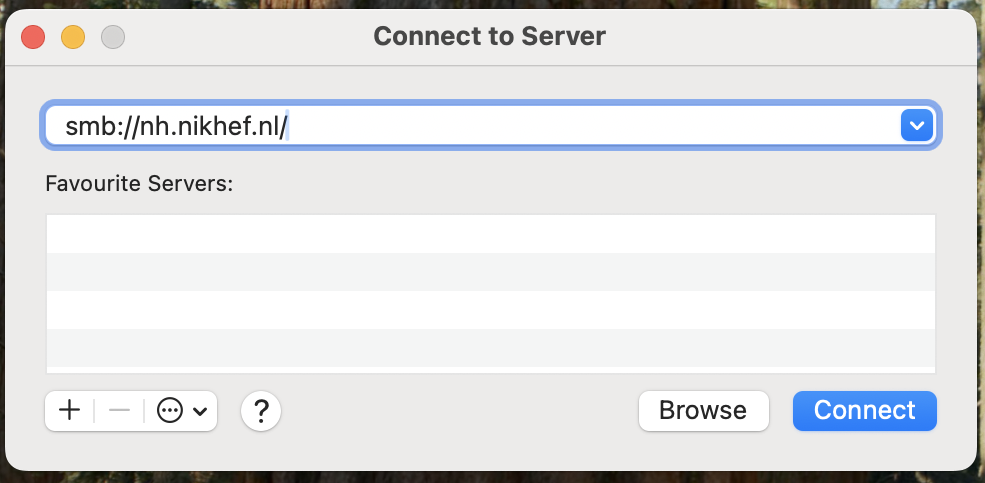 |
| Next, you'll be prompted to enter your Nikhef username and password. Use the following format for the username: nh\username, tick the box to remember the credentials so you don't have to keep redoing this every step. | 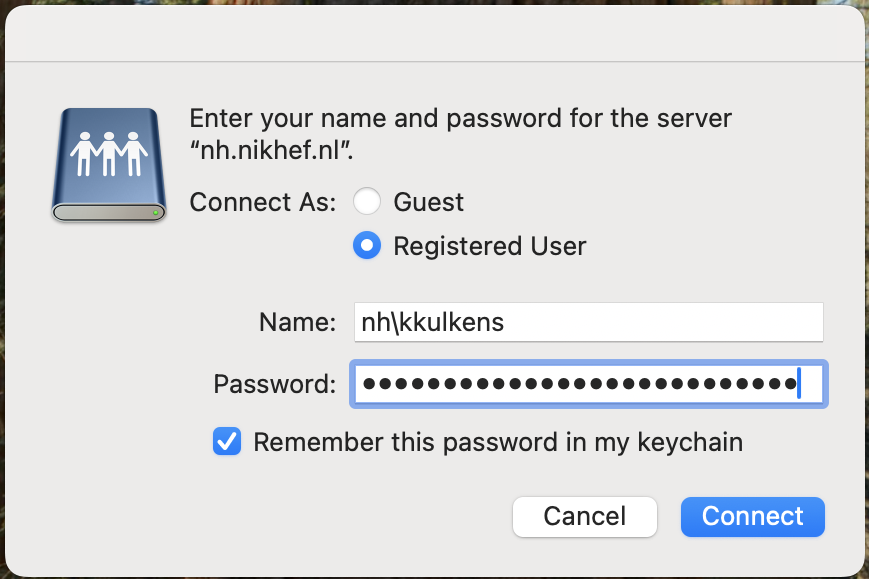 |
| Finally, select the share you want to use, for example, the project share. | 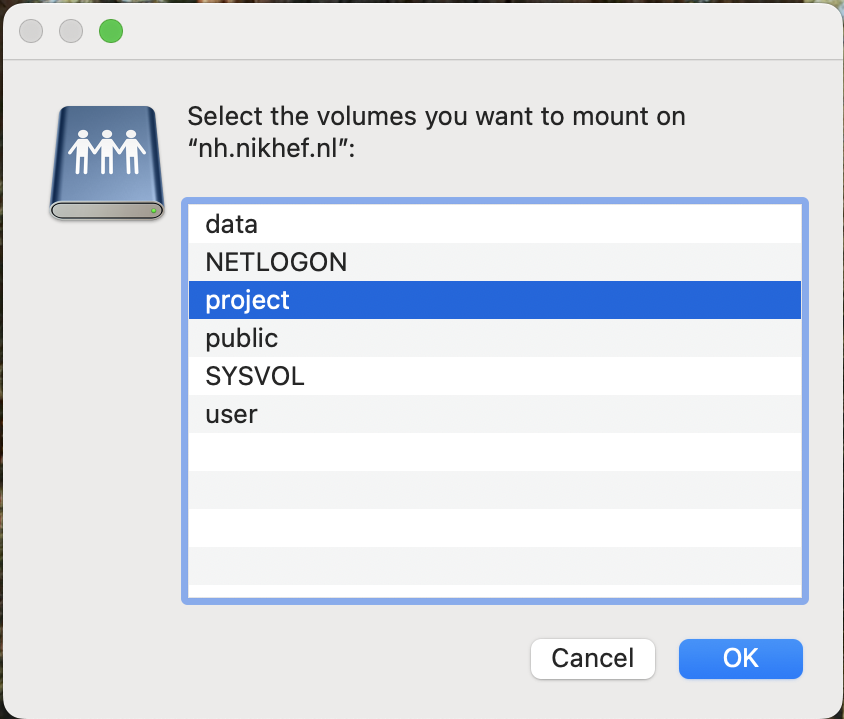 |